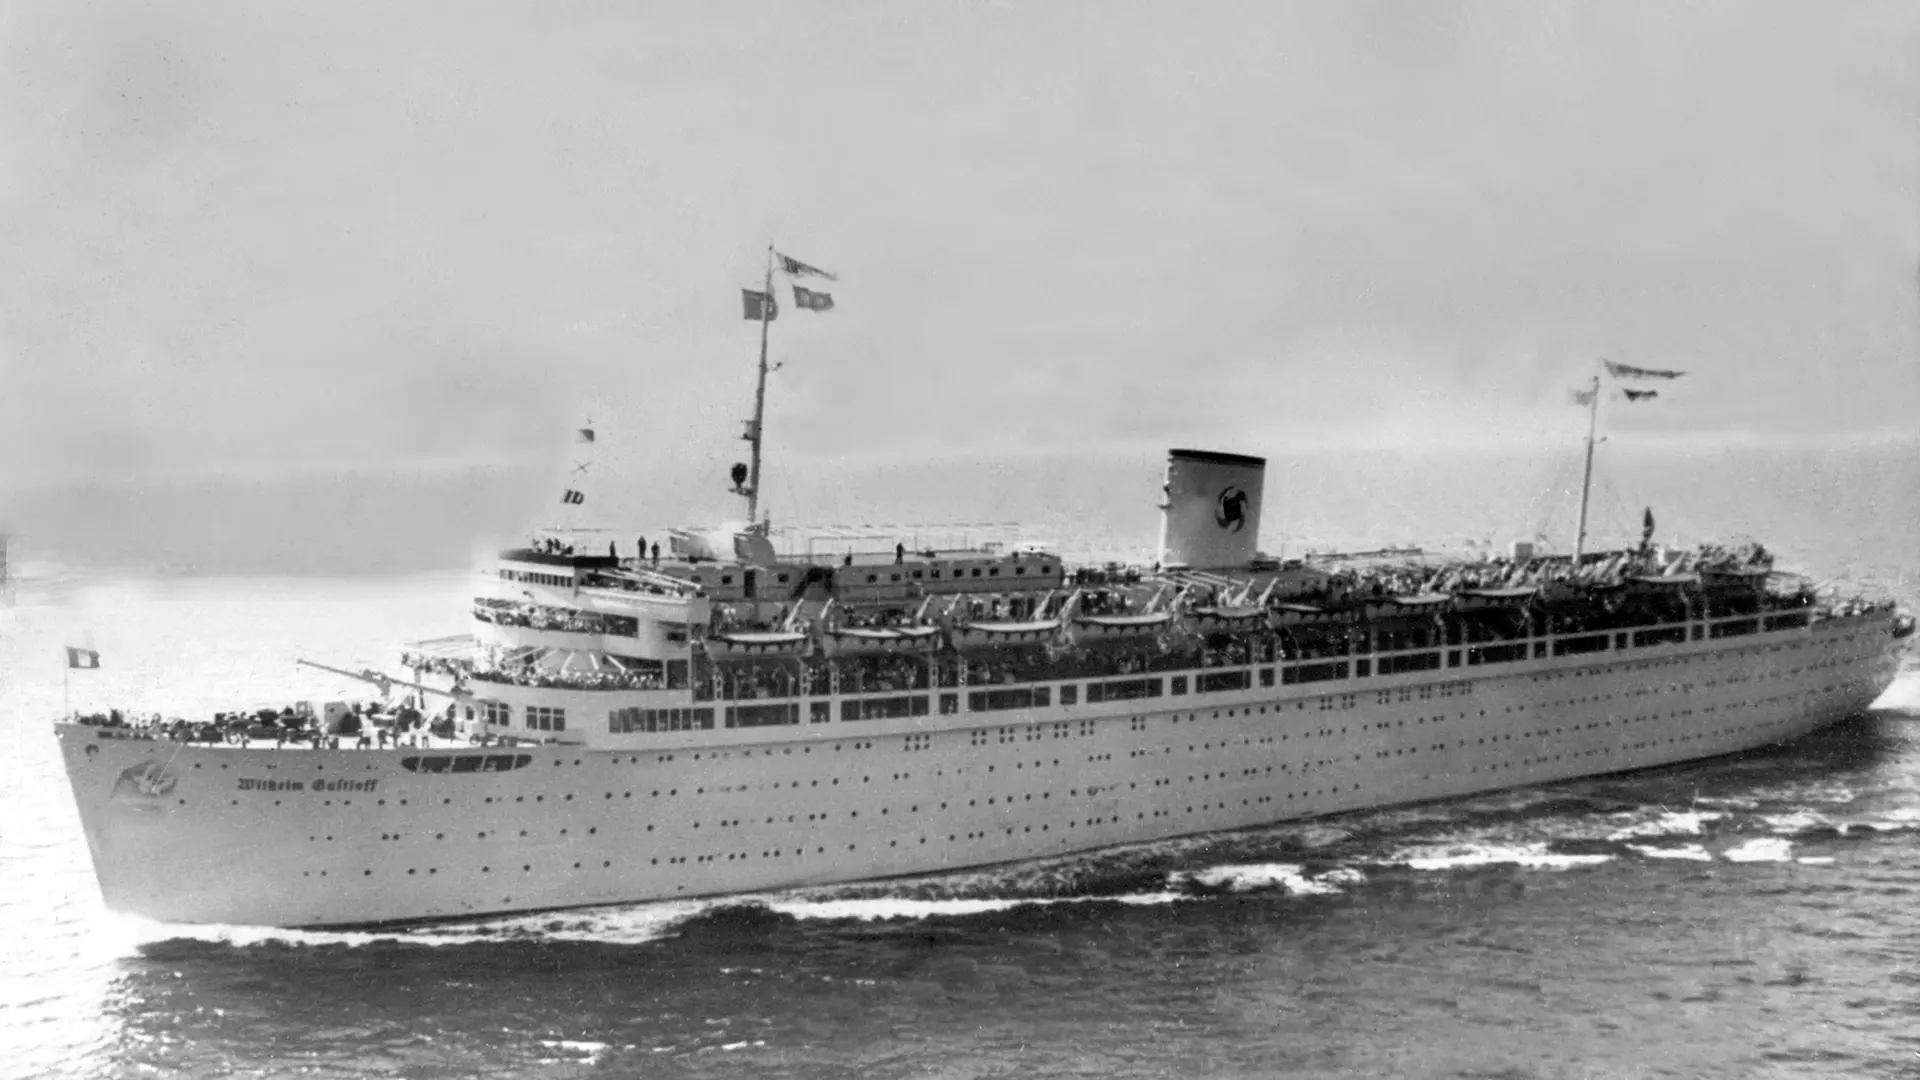
The Seventy-Two Hour Silence and the Soviet Entry
The interval between August 6 and August 9, 1945, represents one of the most critical and chaotic seventy-two-hour periods in human history. Following the destruction of Hiroshima, the Japanese Imperial government did not immediately collapse into surrender. Instead, the Supreme War Council became locked in a paralysis of disbelief and denial. Communications from Hiroshima had been severed so catastrophically that Tokyo initially struggled to comprehend the scale of the event. When reports finally filtered through describing a "new type of bomb" that had erased the city, hardliners within the military leadership, led by War Minister Korechika Anami, argued that even if the Americans possessed an atomic weapon, they likely only had one. They gambled on the scarcity of fissile material, betting that the United States could not sustain a nuclear campaign.
This gamble was dismantled by two events in rapid succession. First, the Soviet Union declared war on Japan on August 8, launching a massive invasion of Manchuria just after midnight on August 9. The Red Army smashed through the Japanese Kwantung Army, effectively ending any hope that the Soviet Union would act as a neutral mediator for a negotiated peace. Japan now faced a war on two fronts: an invasion from the north and total annihilation from the air in the south.
Second, the United States was moving with ruthless speed to prove that Hiroshima was not an anomaly. On the island of Tinian, the directives given to the 509th Composite Group were clear: use the weapons as soon as they are ready. The goal was psychological as much as it was tactical—to create the illusion of an endless assembly line of nuclear devices, convincing the Japanese High Command that every city in Japan would be systematically erased if they did not capitulate immediately. The second mission, originally scheduled for August 11, was moved up by two days to beat incoming bad weather. The target list was finalized. The primary target was the vast Kokura Army Arsenal. The secondary target was the port city of Nagasaki.
The Bockscar Mission Profile: A Chronicle of Failure
If the Enola Gay mission to Hiroshima was a textbook example of military precision, the mission to Nagasaki was a case study in friction, mechanical failure, and near-disaster. The aircraft selected for the strike was the B-29 Superfortress Bockscar, piloted by Major Charles Sweeney. From the moment the pre-flight checks began, the mission was compromised.
The Fuel Pump Crisis
Before the engines were even started, the flight engineer discovered a critical mechanical failure: the fuel transfer pump for the 600-gallon reserve tank located in the aft bomb bay was inoperative. This was not a minor issue; it was a logistical catastrophe. The pump failure meant that while the aircraft would have to carry the dead weight of that fuel—approximately 3,600 pounds—it could not consume it. The fuel was trapped.
Major Sweeney faced an immediate command decision. The standard operating procedure for a mission of this magnitude, carrying a weapon of such complexity and cost, would be to abort or switch aircraft. However, switching the "Fat Man" bomb to another B-29 would take hours, missing the launch window and potentially delaying the strike by days due to the approaching storm front. Under intense pressure to maintain the momentum of the atomic campaign, Sweeney made the decision to fly. Bockscar would take off with a significantly reduced operational range, a shifted center of gravity, and no margin for error.
At 03:47 AM, the overloaded bomber lumbered down the runway at Tinian. The weight of the bomb and the trapped fuel made the takeoff harrowing; the aircraft consumed almost the entire runway, barely clearing the palm trees at the end of the airstrip before slowly clawing for altitude.
The Rendezvous Debacle
The flight plan called for a rendezvous with two observation aircraft, The Great Artiste (carrying blast measurement instrumentation) and Big Stink (carrying high-speed cameras), off the coast of Yakushima. Here, the friction of war intervened again. The Great Artiste arrived on schedule, but Big Stink was nowhere to be found.
Strict mission protocols dictated that the strike plane should not proceed without its escorts, as the data recording was considered as vital as the destruction itself. Sweeney, breaking protocol but desperate to adhere to the timeline, circled the rendezvous point at 30,000 feet. He circled for forty-five minutes. This error in judgment consumed a massive amount of precious fuel—fuel that the flight engineer had already warned was critically tight. Finally, at 09:56 AM, Sweeney abandoned the wait for the camera plane and turned Bockscar toward the primary target: Kokura.
The "Kokura Luck"
By the time Bockscar arrived over the Kokura Army Arsenal, the conditions on the ground had changed. Kokura was the heart of the Japanese war machine’s remaining production capacity, a sprawling complex of factories producing chemical weapons, light armor, and conventional ordnance. It was a target of immense strategic value.
However, the city was obscured. Two days prior, the US Army Air Forces had firebombed the nearby city of Yahata. The smoke from those fires had drifted over Kokura, mixing with a thick morning ground haze. Furthermore, seeing the B-29s overhead, workers at the arsenal had ignited barrels of coal tar to create a deliberate smokescreen. The result was a blanket of opacity.
For fifty minutes, Sweeney made three separate bombing runs from different approach angles. On each pass, the bombardier, Captain Kermit Beahan, peered through the Norden bombsight, searching for the visual aiming point. The orders were strict: this had to be a visual drop. A radar-assisted drop was prohibited to ensure the bomb missed the POW camps known to be in the area and to guarantee accurate data collection. Three times Beahan called out "No drop."
At 10:45 AM, the situation became critical. The flight engineer reported that the fuel reserves were dangerously low. Japanese Zero interceptors were spotted climbing to meet them, and anti-aircraft fire was beginning to burst near the altitude of the bomber. Major Sweeney made the desperate decision to abandon the primary target. He turned the aircraft south toward the only available secondary target: the port city of Nagasaki.
The Mechanics of the Fat Man Plutonium Core
The weapon sitting in the bomb bay of Bockscar was a completely different beast from the "Little Boy" device used on Hiroshima. While Hiroshima was destroyed by a gun-type uranium bomb—a simple, brute-force mechanism—Nagasaki was to be the testing ground for "Fat Man," an implosion-type device powered by a core of Plutonium-239.
The Physics of Implosion
Plutonium is a man-made element produced in nuclear reactors, and it is highly unstable. It has a high rate of spontaneous fission, meaning that if you tried to detonate it using the simple gun-barrel method of slamming two pieces together, the material would react too quickly. The result would be a "fizzle"—a pre-detonation that blows the bomb apart before a significant nuclear yield is achieved.
To overcome this, the scientists at Los Alamos developed the implosion method. The core of the bomb consisted of a sub-critical sphere of plutonium, roughly the size of a grapefruit and weighing about 6.4 kilograms (14 pounds). This core was surrounded by a massive sphere of conventional high explosives, specifically shaped into "lenses." These lenses were made of Composition B and Baratol, arranged in a precise geometric pattern similar to the panels of a soccer ball.
The engineering challenge was immense. All of the explosive lenses had to detonate at the exact same microsecond. When triggered, they created a spherical shockwave that traveled inward at supersonic speeds. This shockwave compressed the plutonium core, crushing it to double its normal density. At the precise moment of maximum compression, a polonium-beryllium initiator at the center of the core was crushed, mixing the two elements to release a massive burst of neutrons. These neutrons struck the now super-dense plutonium atoms, initiating a runaway chain reaction.
Yield and the Radar Approach
The result was a weapon of terrifying efficiency. The estimated yield of the Nagasaki explosion was 21 kilotons (88 terajoules), significantly higher than the 15 kilotons released over Hiroshima.
As Bockscar approached Nagasaki, the crew found the city also covered in heavy cloud. The fuel situation was now dire; the aircraft had consumed so much fuel loitering over Kokura that they had only enough for a single pass over Nagasaki before they would be forced to ditch in the ocean. Sweeney, facing the failure of the mission, authorized a radar-assisted drop—a direct violation of his orders.
The bomb bay doors opened. The radar operator began the run. Then, at the very last second, a gap in the clouds opened. Through the break, Bombardier Beahan spotted a racetrack and a tennis court in the Urakami district. He shouted, "I have the target!" and released the weapon. It was 11:01 AM.
The Urakami Valley: Geography as a Containment Shield
The geography of Nagasaki played the deciding role in who lived and who died that day. Unlike Hiroshima, which sits on a flat, fan-shaped delta that allowed the blast wave to expand uniformly in all directions, Nagasaki is defined by its rugged terrain. The city is bisected by mountains, effectively splitting it into two distinct valleys: the Nakashima commercial district (the historic center) and the Urakami industrial valley.
The Target Error
The original aiming point for the bomb was the commercial center of the city, near the harbor. Had the bomb fallen there, the destruction would have been total, mirroring the effects of Hiroshima. However, due to the cloud cover and the hurried release, the bomb missed the city center by nearly two miles. Instead, it detonated over the Urakami Valley.
This topographical error saved the main government offices and the historic commercial districts from total annihilation. The steep hills flanking the valley acted as a shield, absorbing the thermal ray and blocking the blast wave from rolling into the southern part of the city. Consequently, the total square mileage of destruction was lower than in Hiroshima, despite the bomb’s higher yield.
The Mach Stem Effect
However, within the Urakami Valley, the destruction was absolute and intensified. The blast wave, unable to dissipate outward, rebounded off the valley walls. This reflection created a phenomenon known as the "Mach stem" effect. The reflected shockwave merged with the incident shockwave to create a zone of hyper-pressure. The energy was funneled along the valley floor, scouring the industrial zone with an intensity that exceeded the blast force at Hiroshima. The valley became a contained vessel of superheated plasma and supersonic wind.
The Hypocenter: Industrial and Cultural Annihilation
The hypocenter (Ground Zero) was located at 32.7737° N, 129.8632° E, approximately 1,650 feet (503 meters) above the ground. Directly below this point lay a mixed zone of heavy industry, schools, and civilian housing.
The Mitsubishi Complex
The primary victims of the blast were the massive industrial facilities that anchored the valley. The Mitsubishi Nagasaki Arms Works and the Mitsubishi Steel Works were the industrial engines of the Imperial Navy, responsible for producing the torpedoes used at Pearl Harbor. The blast reduced these massive facilities to twisted steel skeletons. The steel girders of the factories were bent like wet clay, and the concrete foundations were cracked by the sheer concussive force. Inside, thousands of conscripted laborers, including mobilized high school students and Korean forced laborers, were killed instantly. The machinery was not just destroyed; it was fused into molten lumps of unrecognizable metal.
The Urakami Cathedral Destruction
Culturally, the most significant and tragic loss was the Urakami Cathedral. Nagasaki had been the historical entry point for Christianity in Japan, and the Urakami district was home to the largest Catholic community in East Asia. The cathedral, a massive brick structure that had taken thirty years to build after the lifting of the centuries-old ban on Christianity, stood just 500 meters from the hypocenter.
When the bomb detonated, the vertical pressure wave struck the cathedral with catastrophic force. The massive brick and stone walls collapsed instantly. The heavy dome crashed down into the sanctuary, pulverizing everything beneath it. Inside, dozens of parishioners were receiving the Sacrament of Reconciliation in preparation for the upcoming Feast of the Assumption. All were killed. The heat was so intense that stone statues of saints at the entrance were scorched black, and the bronze bells were melted or blown hundreds of yards away. One of the bells was later found intact, buried under the debris, while the other was blasted out of the belfry. The destruction of the cathedral became a potent symbol of the indiscriminate nature of the weapon—aimed at war industry, but obliterating a center of faith.
The Physical Toll: Blast, Heat, and Shadows
The plutonium bomb unleashed a blast wind exceeding 1,000 miles per hour—faster than the speed of sound—and a thermal flash that reached 3,900°C at ground level.
Thermal Ray and Fire Containment
In the Urakami Valley, the heat was absorbed by the dense, dark wooden housing that packed the riverbanks. Unlike Hiroshima, where a city-wide firestorm consumed 4.4 square miles, the fires in Nagasaki were somewhat contained by the wide river and the gaps between the factory buildings. However, within a one-mile radius, the "flash burns" on organic matter were fatal.
The thermal radiation caused instant carbonization. People walking on the streets within a kilometer of the hypocenter were incinerated where they stood. The shadows of railings were burned into bridge decks. The dark patterns on women's kimonos absorbed the heat, burning the patterns directly into their skin. Wooden buildings within 1.2 miles were disintegrated by the pressure wave before they could fully ignite, creating a landscape of splintered debris rather than a sea of ash.
Casualty Statistics
Calculating the exact death toll in Nagasaki is complicated by the lack of census data for the forced laborers and military personnel in the industrial zone. Estimates generally place the immediate death toll between 39,000 and 80,000 people. While this figure is lower than Hiroshima’s total, the casualty rate per square mile within the Urakami Valley was actually higher due to the population density and the focused energy of the blast.
Among the dead were approximately 2,000 Korean forced laborers working in the Mitsubishi factories and 150 Japanese soldiers. Ironically, the camp housing Allied prisoners of war was located relatively close to the bomb's detonation point. While some POWs were killed, many survived because the camp was shielded by a small ridge, further illustrating the capricious and random nature of the terrain-based survival.
Medical Aftermath: The Pathology of Plutonium
The survivors, or Hibakusha, faced a terror that extended far beyond the initial blast. The radiation from the plutonium core released massive amounts of gamma rays and neutrons. Because the bomb exploded relatively low to the ground and the valley contained the fallout, the radiological effects were profound.
Destruction of the Medical College
The Nagasaki Medical College and Hospital, the primary medical facility for the region, was located just 600 meters from the hypocenter. It was obliterated. Over 800 medical students, doctors, and nurses were killed instantly. The very people who would have been responsible for treating the victims were the first to die. The few surviving medical staff found themselves in a hellscape without bandages, antiseptics, or blood plasma. They treated burns with cooking oil, motor oil, and wet newspaper.
One of the survivors was Dr. Takashi Nagai, a radiologist who had been working in the college. despite suffering a severed temporal artery, he dedicated the rest of his short life to treating survivors and documenting the effects of the bomb. His book, The Bells of Nagasaki, would later become a seminal text in understanding the human cost of the event.
Acute Radiation Syndrome (ARS)
In the days following the blast, the survivors began to exhibit symptoms that defied conventional medical understanding. This was Acute Radiation Syndrome (ARS). Patients who had survived the blast with no apparent external injuries began to vomit. Their hair fell out in clumps. Purple spots (petechiae) appeared on their skin, signaling the breakdown of capillaries.
The radiation had destroyed their bone marrow, halting the production of white blood cells and platelets. Victims died from minor infections or internal bleeding because their immune systems had been effectively erased. The "atomic bomb disease," as it was called, created a sense of terror in the ruins; death was not just an event of the explosion, but a lingering process that could strike weeks later.
The Double Survivors
Nagasaki was also the home of a unique and tragic demographic: the Niju hibakusha (double survivors). These were individuals who were present in Hiroshima on August 6, survived, and then took the train to Nagasaki to return home or report for work, only to be bombed again on August 9.
The most famous of these was Tsutomu Yamaguchi. He was in Hiroshima on business, survived the blast with severe burns, and returned to his home in Nagasaki. On the morning of August 9, he was reporting to his supervisor at the Mitsubishi shipyard, describing the "single bomb that destroyed the city." His supervisor accused him of being crazy, stating that a single bomb could not destroy a whole city. At that exact moment, the room filled with the same blinding white light Yamaguchi had seen three days prior. He survived both blasts and lived to be 93, becoming a vocal advocate for nuclear disarmament.
Artifacts of Time: The Nagasaki Atomic Bomb Museum
Today, the memory of the event is curated within the Nagasaki Atomic Bomb Museum, which stands adjacent to the hypocenter. The museum’s narrative differs slightly from Hiroshima’s; while Hiroshima focuses on the anger and the political plea for peace, Nagasaki often focuses on the sorrow, the loss of culture, and the disruption of daily life.
Frozen Time: The Stopped Clock
The most iconic artifact in the collection is a wall clock found in a house near the hypocenter. The hands are frozen at 11:02, the exact moment the blast wave stopped the mechanism. This time—11:02 AM—is marked annually in Nagasaki with a moment of silence and the ringing of bells, distinct from Hiroshima’s 8:15 AM observance. It serves as a forensic marker of the exact second the era changed.
The Melted Rosary
Another harrowing artifact is the "Melted Rosary." Recovered from the ruins of the Urakami Cathedral, the glass and metal beads are fused together into a singular lump. This object serves as a physical testament to the temperature; the glass beads required heat in excess of 600°C to soften and fuse, a temperature achieved instantaneously inside the church. It represents the collision of faith and nuclear physics—a spiritual object reduced to its elemental state by the heat of a star.
Also preserved is a section of the cathedral’s brick wall, relocated to the museum to show the sheer force required to shear through reinforced masonry. The museum creates a narrative that links the persecution of the past Christians with the persecution of the atomic survivors, framing the bombing as the latest in a long history of suffering for the people of Urakami.
Conclusion: The Last Atomic City
Nagasaki stands in history as the last city to be destroyed by a nuclear weapon in warfare. The 21 kilotons that exploded over the Urakami Valley proved that the destruction of Hiroshima was not a singular anomaly, but a reproducible military capability. The mission, despite its failures, the "Kokura Luck," and the near-disaster of the fuel shortage, achieved its grim strategic goal: it demonstrated to the Japanese High Command that the United States could and would continue to destroy Japanese cities until surrender was absolute.
On August 15, six days after the Nagasaki bombing, Emperor Hirohito broadcast his voice to the nation for the first time, announcing the surrender of Japan. The war was over, but the legacy of the radiation remained. The "Atomic Cities" series concludes here, in the valley of Urakami. The physical evidence—the shadows burned into stone, the fused glass, the stopped clocks—remains the only unvarnished record of what occurs when the binding energy of the atom is unleashed upon a civilian population.
While Hiroshima often dominates the historical narrative due to its primacy, Nagasaki bears the specific weight of being the final punctuation mark in the atomic age's opening chapter. It was the bomb that didn't need to fall—the secondary target, hit only because of smoke and fuel failures. The city’s plea, voiced annually during the Peace Declaration, is simple: let Nagasaki be the last.
FAQ
Why was Nagasaki bombed instead of the primary target?
Nagasaki was not the intended target for the second bomb. The primary target was the industrial city of Kokura. On the morning of August 9, 1945, thick smoke and haze (possibly from firebombing in neighboring Yahata) obscured Kokura, preventing the required visual sighting. The B-29 Bockscar abandoned Kokura and flew to the secondary target, Nagasaki, where a break in the clouds allowed the bombardier to drop the "Fat Man" weapon.
How was the Nagasaki bomb different from Hiroshima's?
The bomb dropped on Nagasaki ("Fat Man") was a plutonium implosion device, whereas the Hiroshima bomb ("Little Boy") was a uranium gun-type device. Although "Fat Man" was significantly more powerful (21 kilotons vs. 15 kilotons), the death toll in Nagasaki was lower. This is largely due to Nagasaki's geography; the city lies in a valley, and the surrounding mountains contained the blast, preventing it from spreading as widely as it did across the flat delta of Hiroshima.
What happened to the Urakami Cathedral?
At the time of the bombing, the Urakami Cathedral was the largest church in East Asia, located just 500 meters from the hypocenter. It was completely obliterated, killing the priests and parishioners inside who were preparing for confession. Today, a portion of the original cathedral wall has been relocated to the hypocenter park, and the "Head of the Virgin Mary"—a statue damaged by the heat rays—remains a haunting relic displayed in the church's new structure.
Is it safe to visit the Hypocenter Park?
Yes. Similar to Hiroshima, the radiation from the airburst bomb dissipated quickly. The Nagasaki Atomic Bomb Museum and the Hypocenter Park are safe for all visitors. The park is marked by a black monolith showing the exact point of detonation, and nearby layers of soil from 1945 have been preserved behind glass to show the debris field, including melted glass and pottery.
Sources & References
- Nagasaki Atomic Bomb Museum - "Permanent Exhibition and Digital Archives"
- Atomic Heritage Foundation - "The Bombing of Nagasaki"
- The National Archives (USA) - "The Bockscar Mission and Flight Logs"
- United Nations Office for Disarmament Affairs - "The Hibakusha: Survivors of Hiroshima and Nagasaki"
- City of Nagasaki Official Website - "Peace Declaration and the Urakami Cathedral History"
- Bulletin of the Atomic Scientists - "Yield Estimates of Little Boy and Fat Man"
- Radiation Effects Research Foundation - "Life Span Study of A-Bomb Survivors"